Note: Some of the products shown in the software within the entire implant library may not be approved for all countries.
Expand your implant library independently?
No problem, with our step-by-step instructions
Facts and prerequisites
Allowed file formats are .stl, .ply and .obj
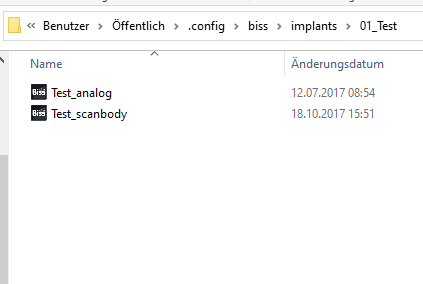
Only 2-3 files are needed -> Scanbody, Analog [and possibly a symmetry.txt file]
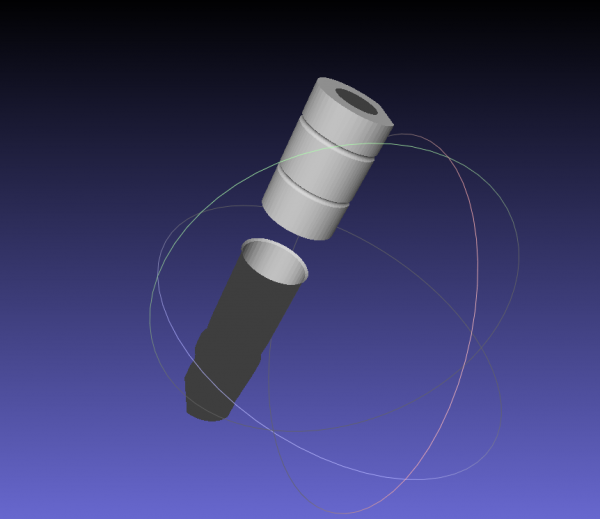
The file for the scan body requires an outward-pointing normal.
The file for the analog requires the outer casing of the analog. Additionally, it needs at least one hole facing upwards, towards the scanbody. For a hole for a Basal screw, the data set also needs a hole facing downwards.
The scanbody and analog must be aligned along a coordinate axis in a common coordinate system (which axis [x, y, z] doesn’t matter, Biss will figure that out automatically)
You can check the files in the MeshLab program. The analog has a light area inside, and the scanbody has a light area outside.
Instructions - Variant 1
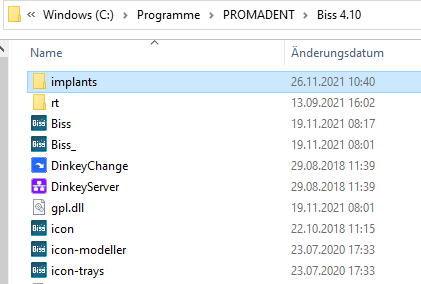
1. Go to C:\Program Files\PROMADENT\Biss [current version]\implants
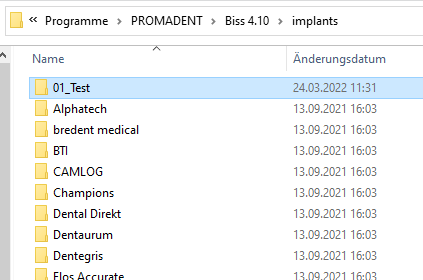
2. Create subfolders as needed, e.g., sorted by manufacturer and diameter. IMPORTANT: Each implant geometry requires a separate folder, each containing only the 2-3 files listed above.
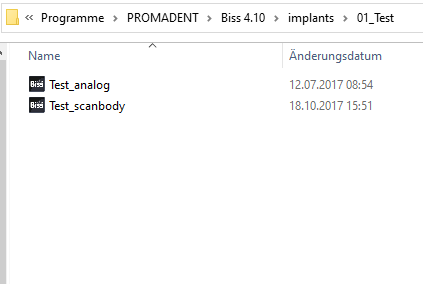
3. Add the 2-3 files to the created folder. To ensure the files are recognized, rename the analog data set to “[…]_analog” and the scanbody data set to “[…]_scanbody”.
4. When you reopen BiSS, you will find the inserted folders in the “Implants” step on the left under “System-wide”.
Instructions - Variant 2
1. Go to C:\Users\[current user]\.config\biss. Create a new folder here named “implants”.
2. Create subfolders as needed, e.g., sorted by manufacturer and diameter. IMPORTANT: Each implant geometry requires a separate folder, each containing only the 2-3 files listed above.
3. Add the 2-3 files to the created folder. To ensure the files are recognized, rename the analog data set to “[…]_analog” and the scanbody data set to “[…]_scanbody”.
4. When you reopen BiSS, you will find the inserted folders in the “Implants” step on the left under “User-specific”.